Scheduling a Report
Reports can be run ad-hoc, as outlined in Section Generating a Report; however, this requires manual intervention to enter the parameters and physically click the ‘OK’/‘Accept’ button.
Ad-hoc reports are great for one-off report generation, however if you need to regularly receive/send reports then you should configure a ‘Scheduled report’.
Reports can be scheduled to run at specific date/times (e.g. every Wednesday at midnight), against specific Hashtags (e.g. #business-systems), and emailed to specific recipients (such as it-admins@company.com), with a specific subject and body of text.
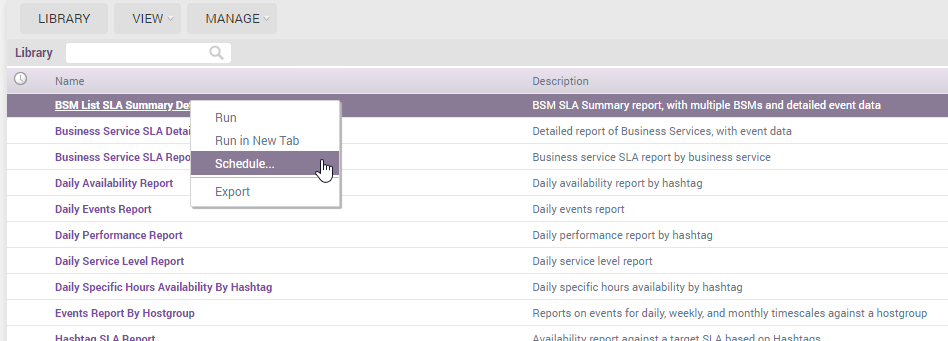
To create a scheduled report, simply right-click on a Report as below and click Schedule:
Once clicked, a page similar to the one below will load:
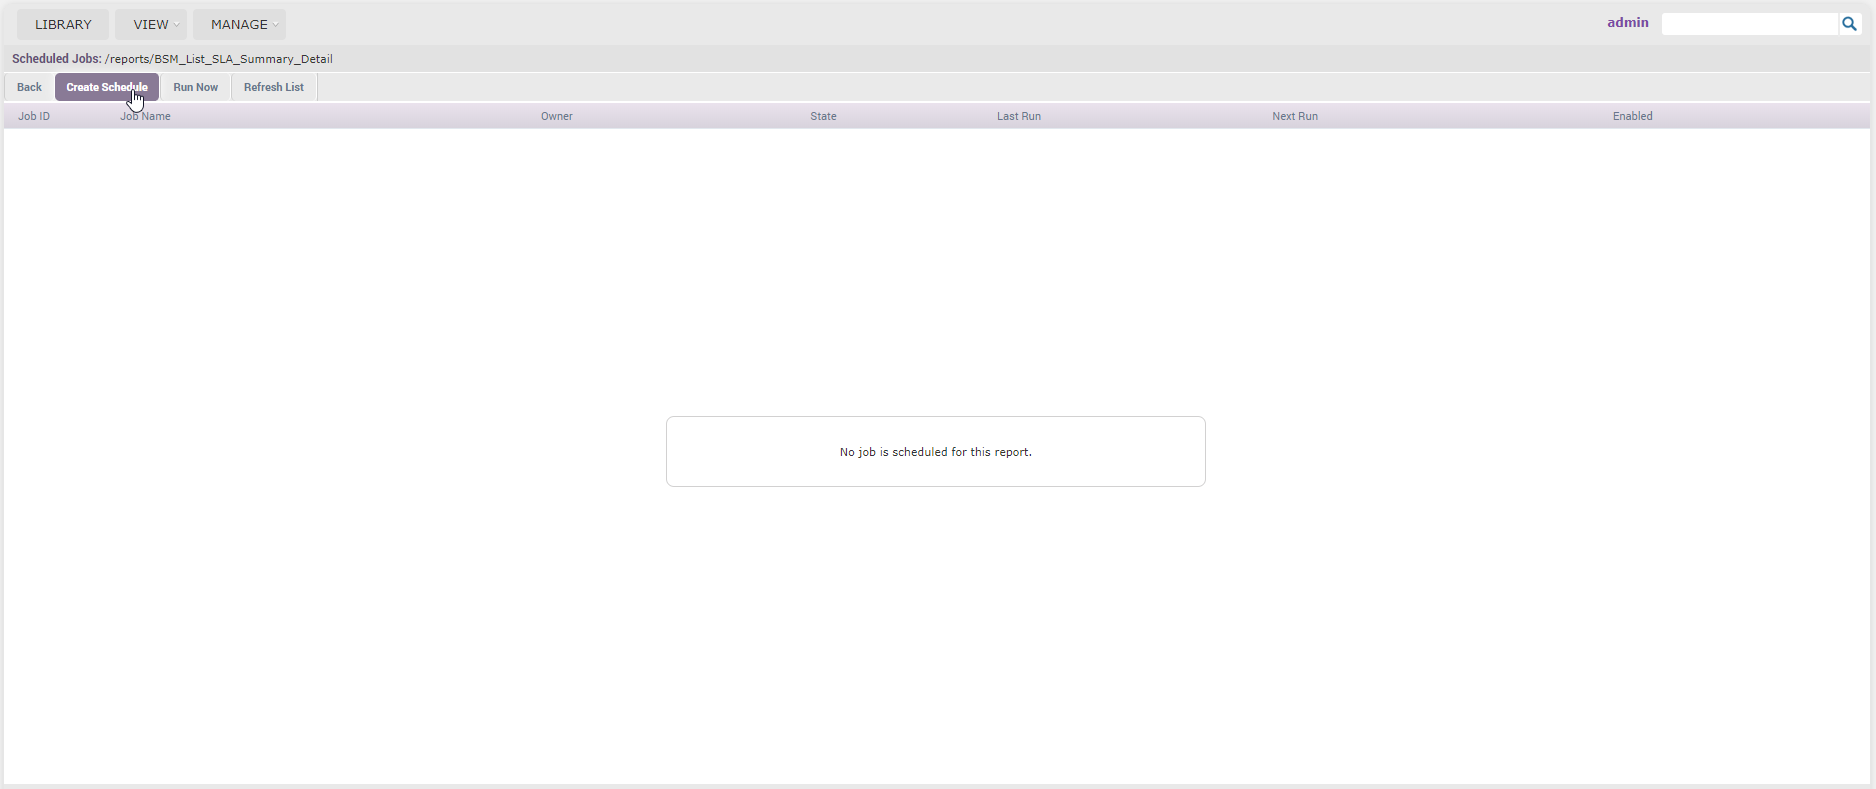
This page will list all existing scheduled reports (none, in the example above), and will allow you to edit/delete existing scheduled reports and create new ones (‘Create Schedule’). You can also choose to select Scheduled Reports and click Run Now, which will cause the report to be run immediately.
In the example below, we have clicked on ‘Create Schedule’:
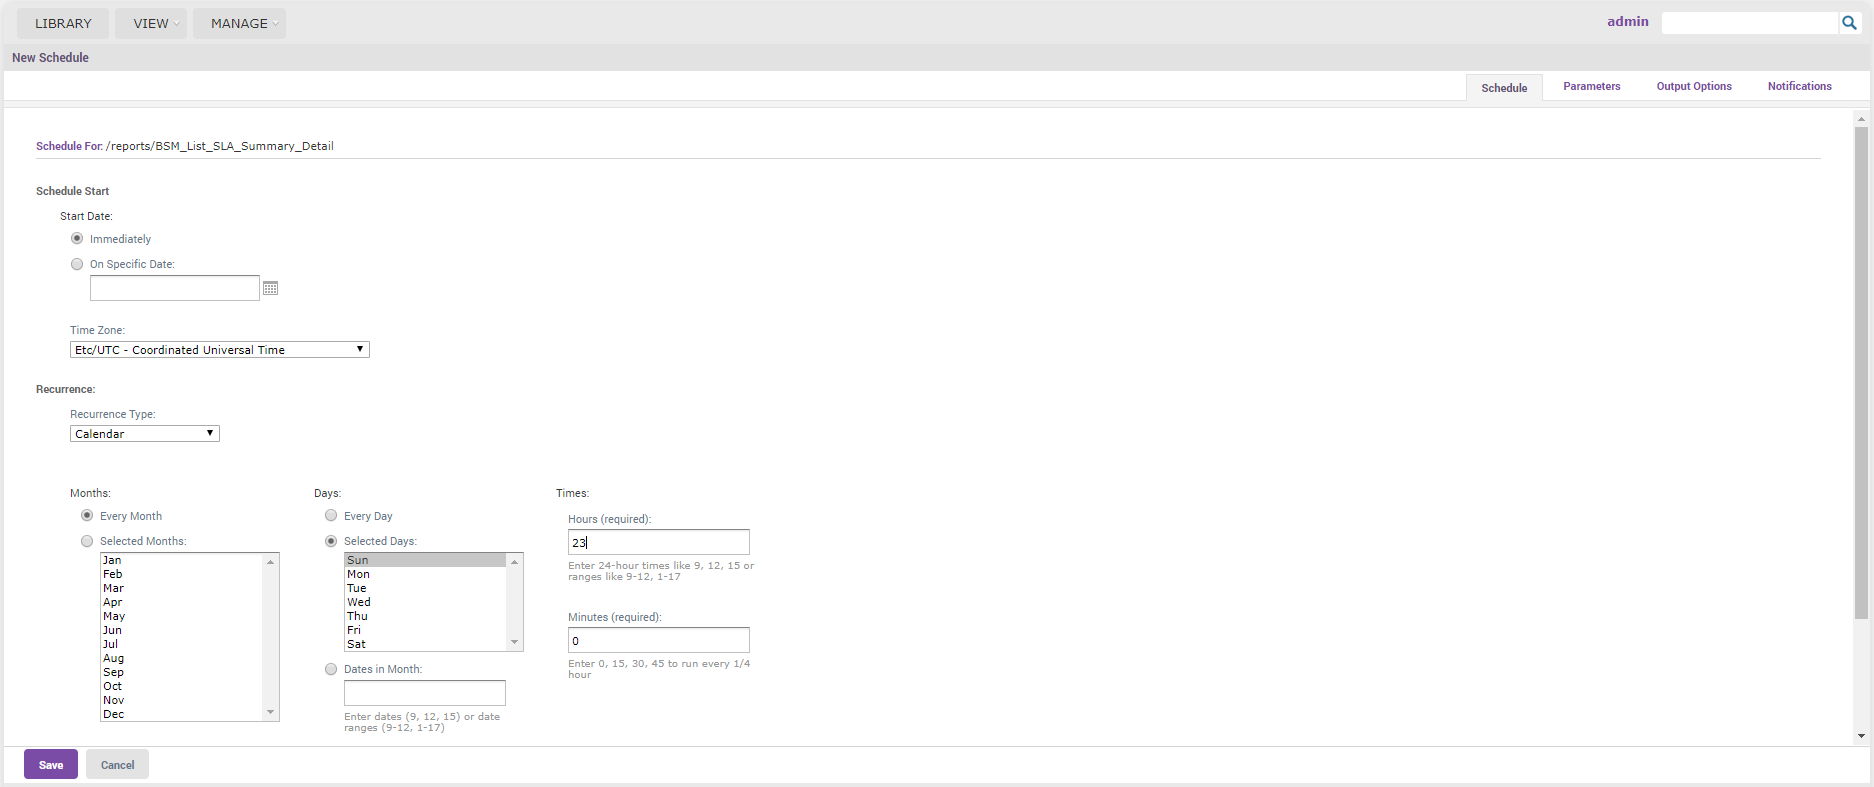
In the above screen we can see the first of four tabs within the Create Schedule section; Schedule. In Schedule, you can choose when your report is run - e.g. every Sunday at 23:00 (as above), every day at 07:00, every Monday - Friday at 09:00, etc. You can also choose a simple recurrence, such as daily, by changing the ‘Recurrence type’.
After configuring the Schedule tab, next click on the Parameters tab (located in the top right):
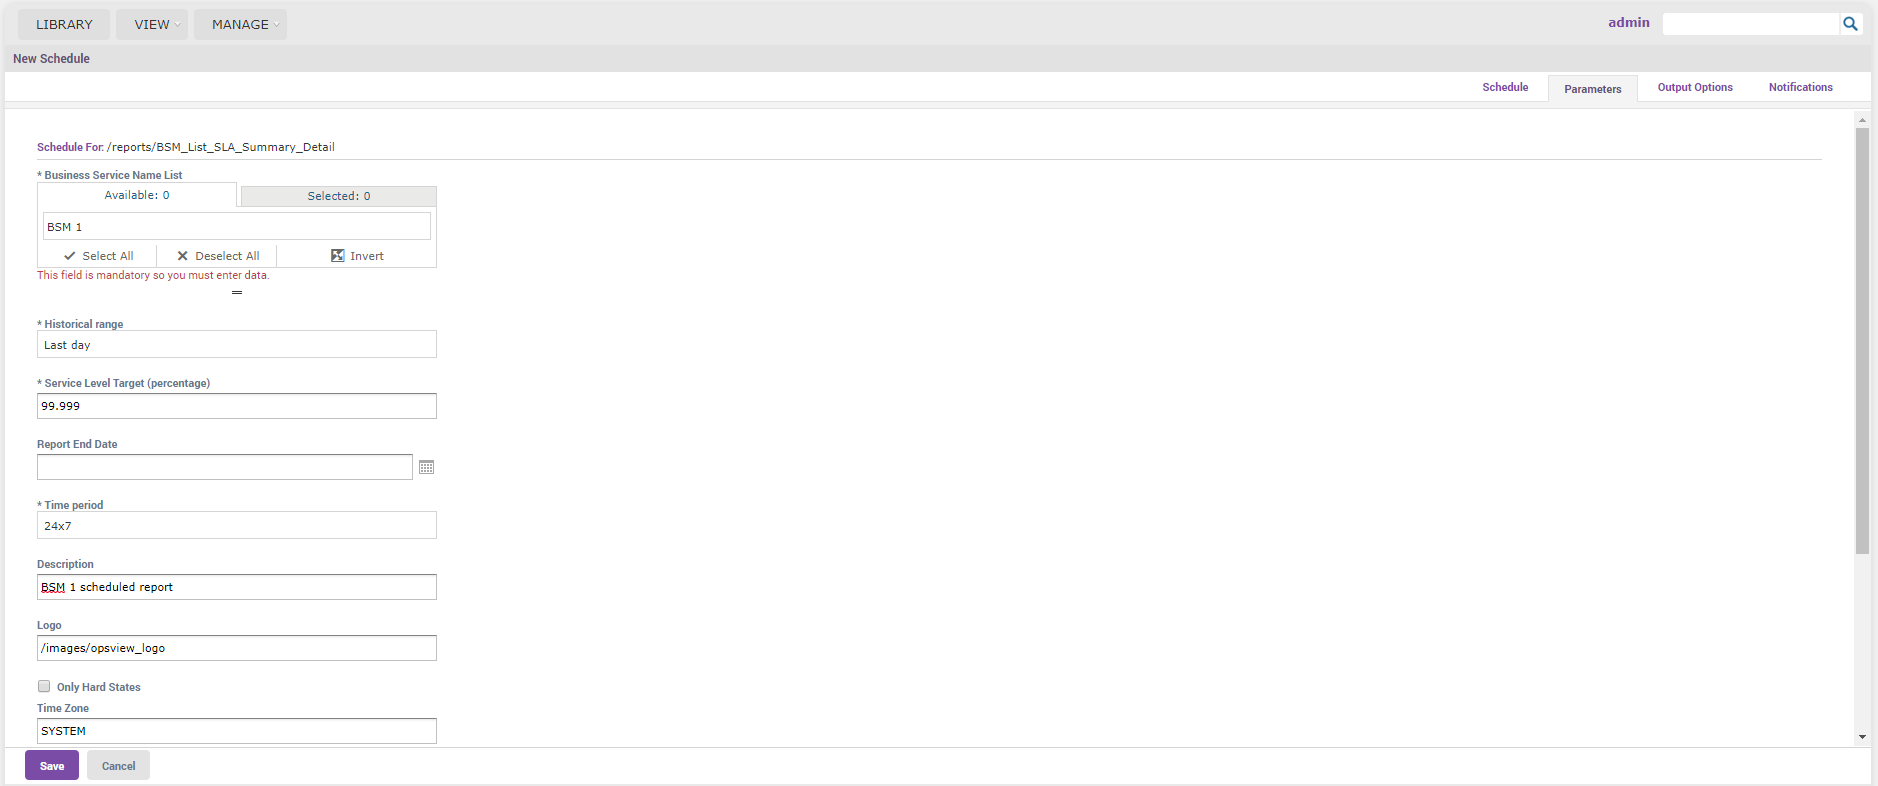
The Parameters tab is the same view that you see when you run an ad-hoc report, and is where you choose the input for the report. In the example above, we are running a report on a Business Service, therefore we must provide information such as the Business Service, the historical range (last day, last week, etc), the time zone and logo.
Next, click on the Output options tab (again, located in the top right):
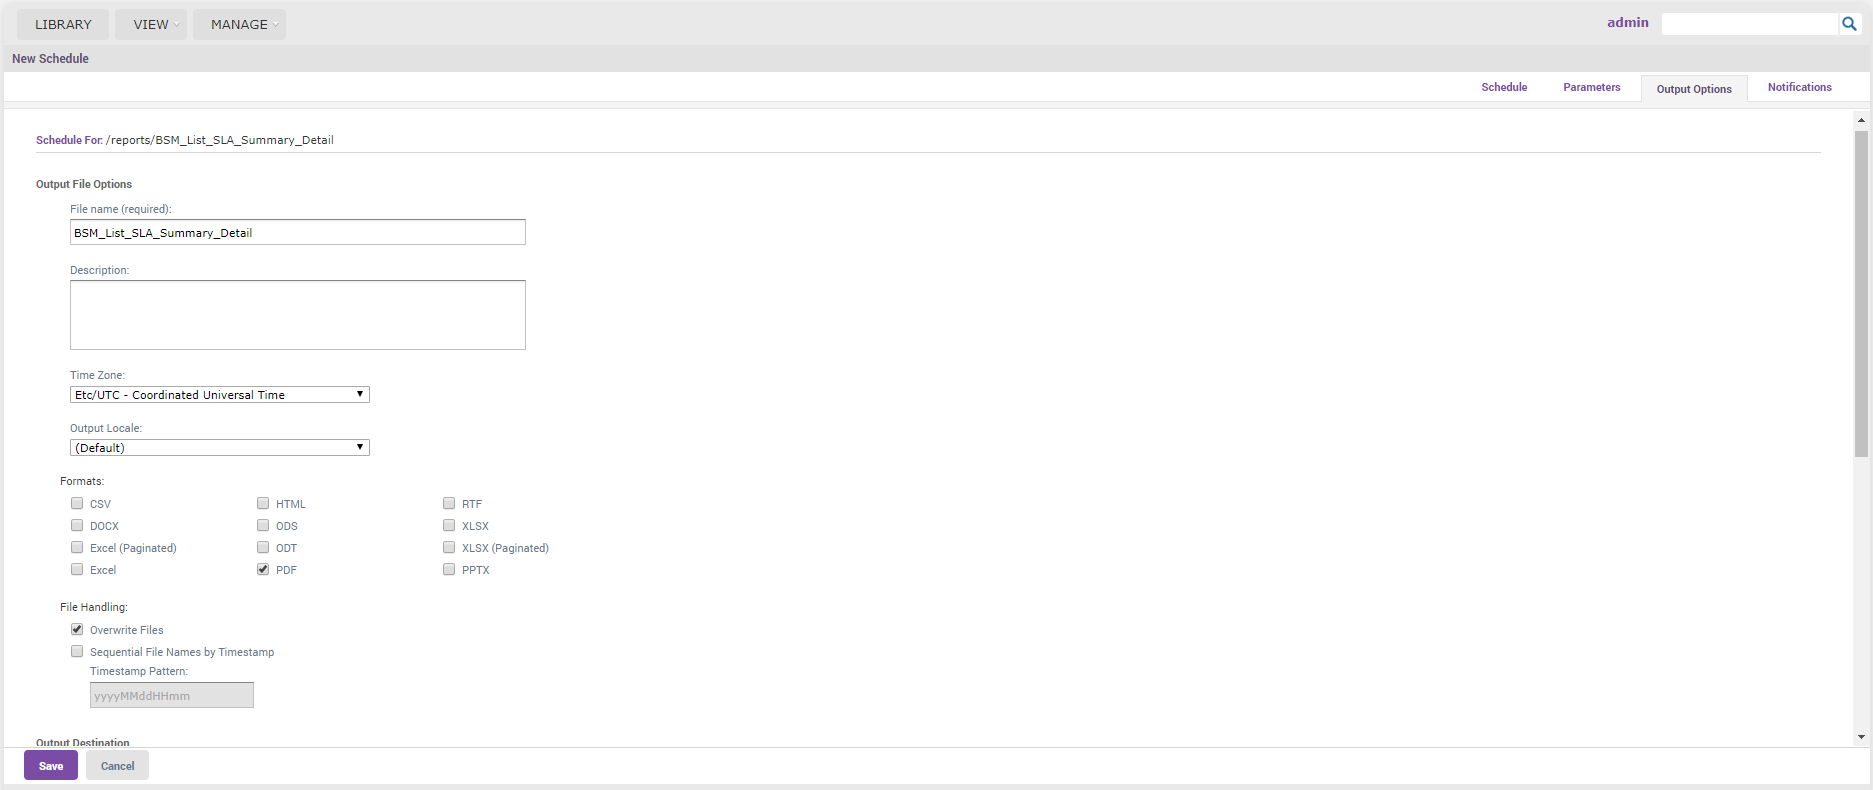
In the Output options tab you can choose options which include the output file format of the report, such as PDF or Excel, the file name, the description, and whether it is directly uploaded to an FTP site.
Finally, click on the Notifications tab (located in the top right):
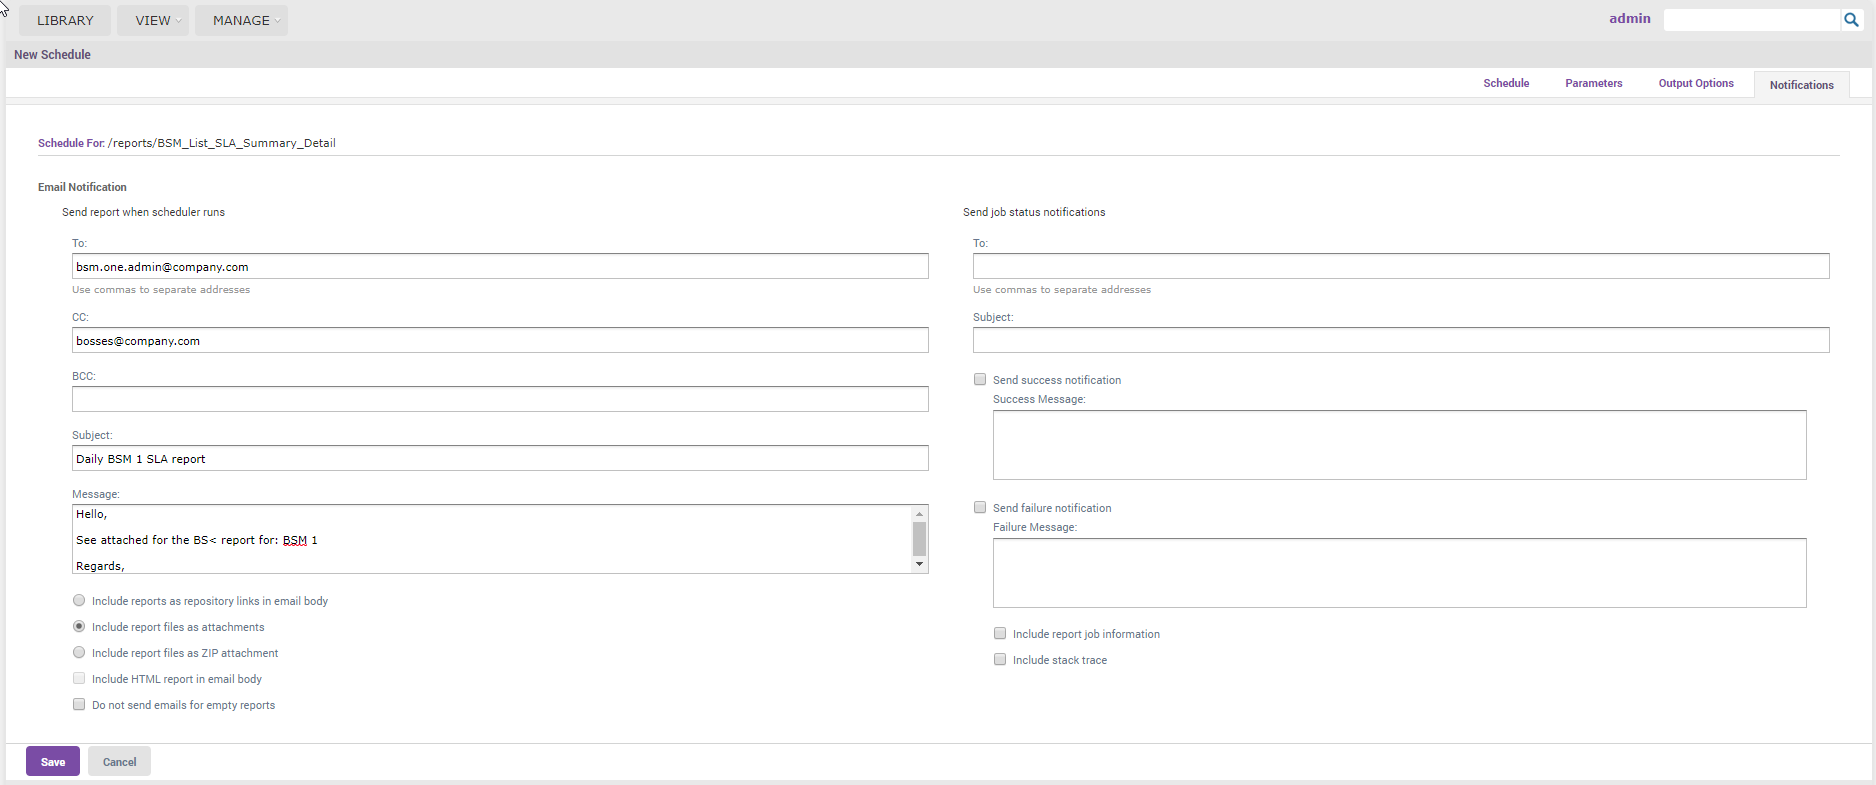
In the Notifications tab, you can choose who will receive the scheduled report via email, along with the subject, message body, and various other attachment options.
To save the new scheduled report, click on Save, and a window will appear asking for a name and description as shown below:
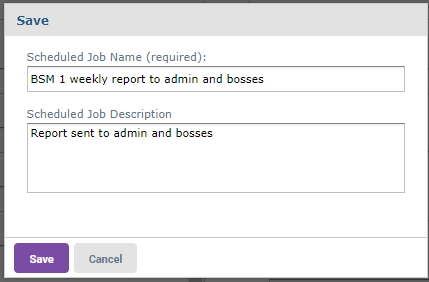
Once saved, the scheduled report will be visible:
