Getting started with Push Notifications
Overview
Opsview Monitor and Opsview Monitor Mobile supports the ability to use Push Notifications to receive alerts about your network devices. This article explains how to use and configure Push Notifications within Opsview.
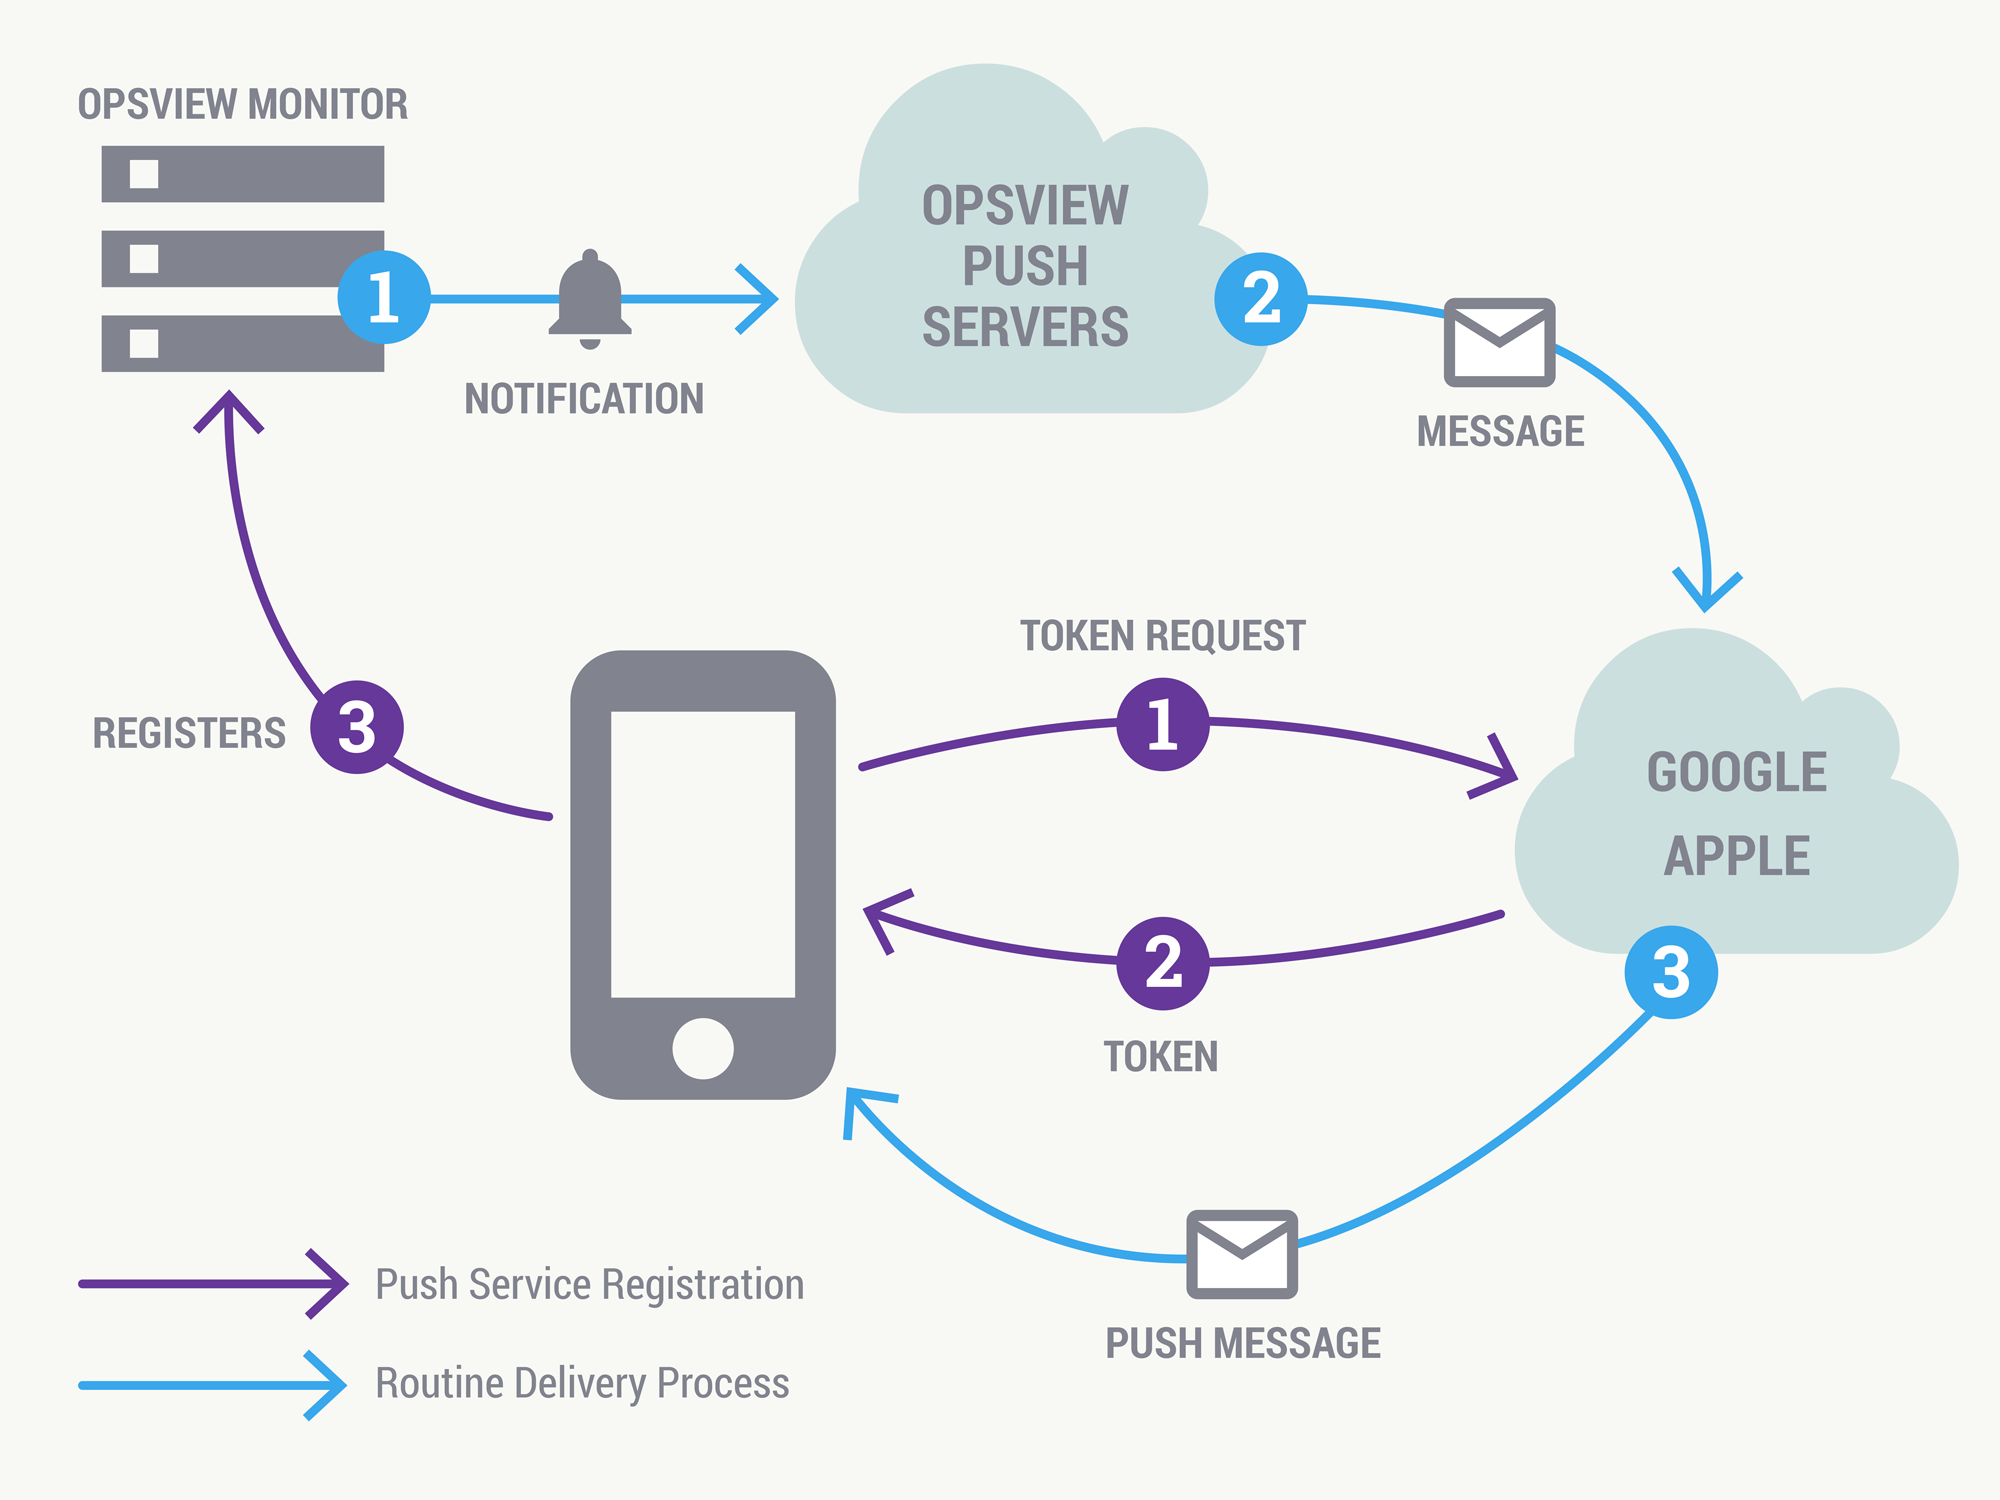
The following diagram explains the process of sending messages from your Opsview Monitor server to your Opsview Monitor Mobile device. The workflow is split into two parts: Registration and Delivery.
Prerequisites
- Your Opsview Monitor server must have access to the internet to reach the Opsview Push servers.
- Your Opsview Monitor Mobile app must have access to the internet to receive Apple/Android push notifications.
Registration
- Your device requests a token from Apple or Google’s servers.
- Apple or Google’s servers return a unique token to your device.
- Your unique token is registered with Opsview Push Servers.
Delivery
- When your Opsview Monitor server generates an alert, it passes it onto the Opsview push servers.
- The Opsview Push servers looks up the device token and sends the alert to Apple or Google’s servers.
- Apple or Google’s servers then push the notification to your device.
Getting started
Now that you understand the basics of how push notifications interact with Opsview Monitor and Opsview Monitor Mobile, let’s get you set up to start using them.
Registration
Let’s start by enabling push notifications on your device:
-
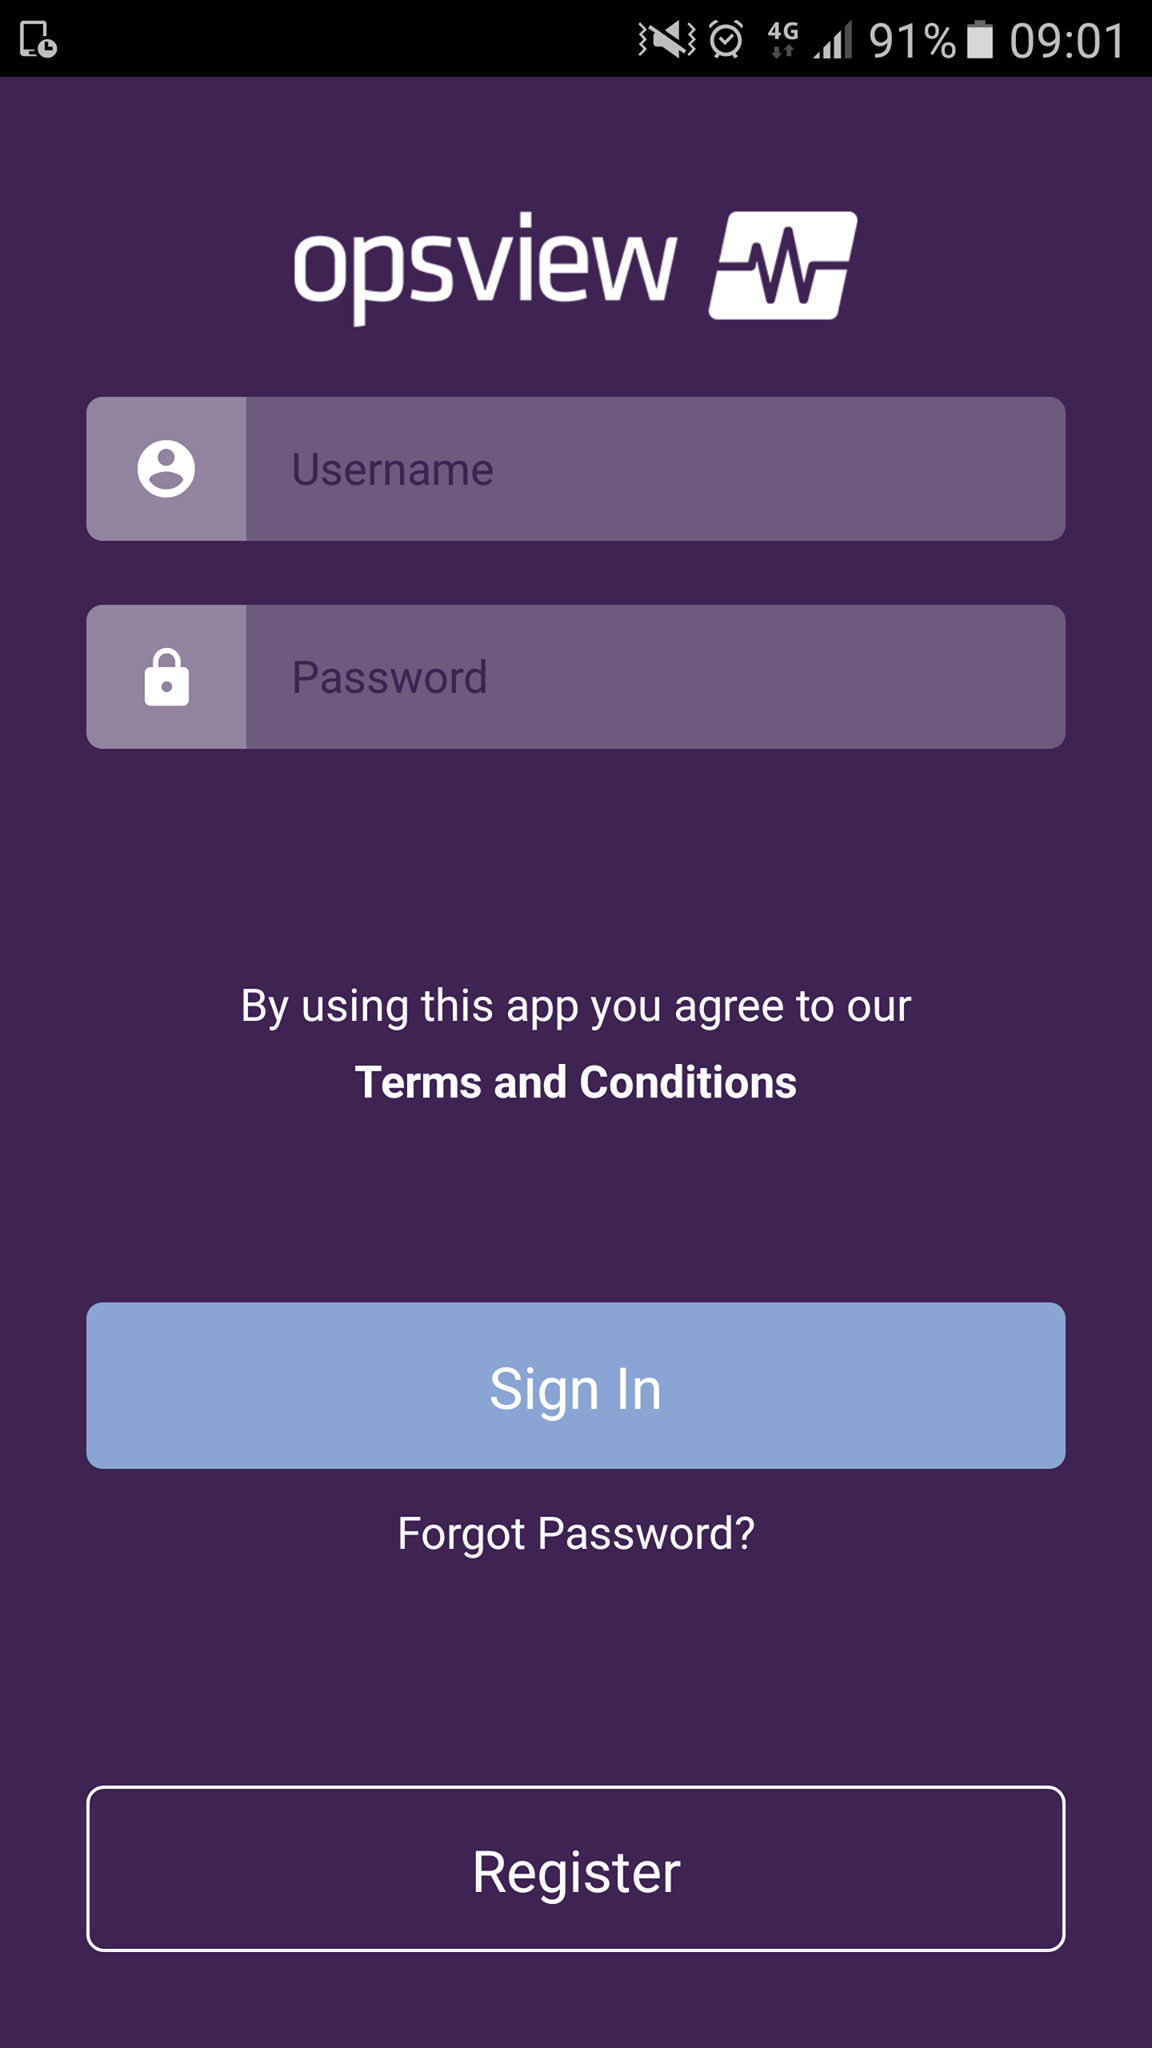
Begin by signing into your Opsview Account. For more information, see Mobile FAQ: What is my Opsview Username:
-
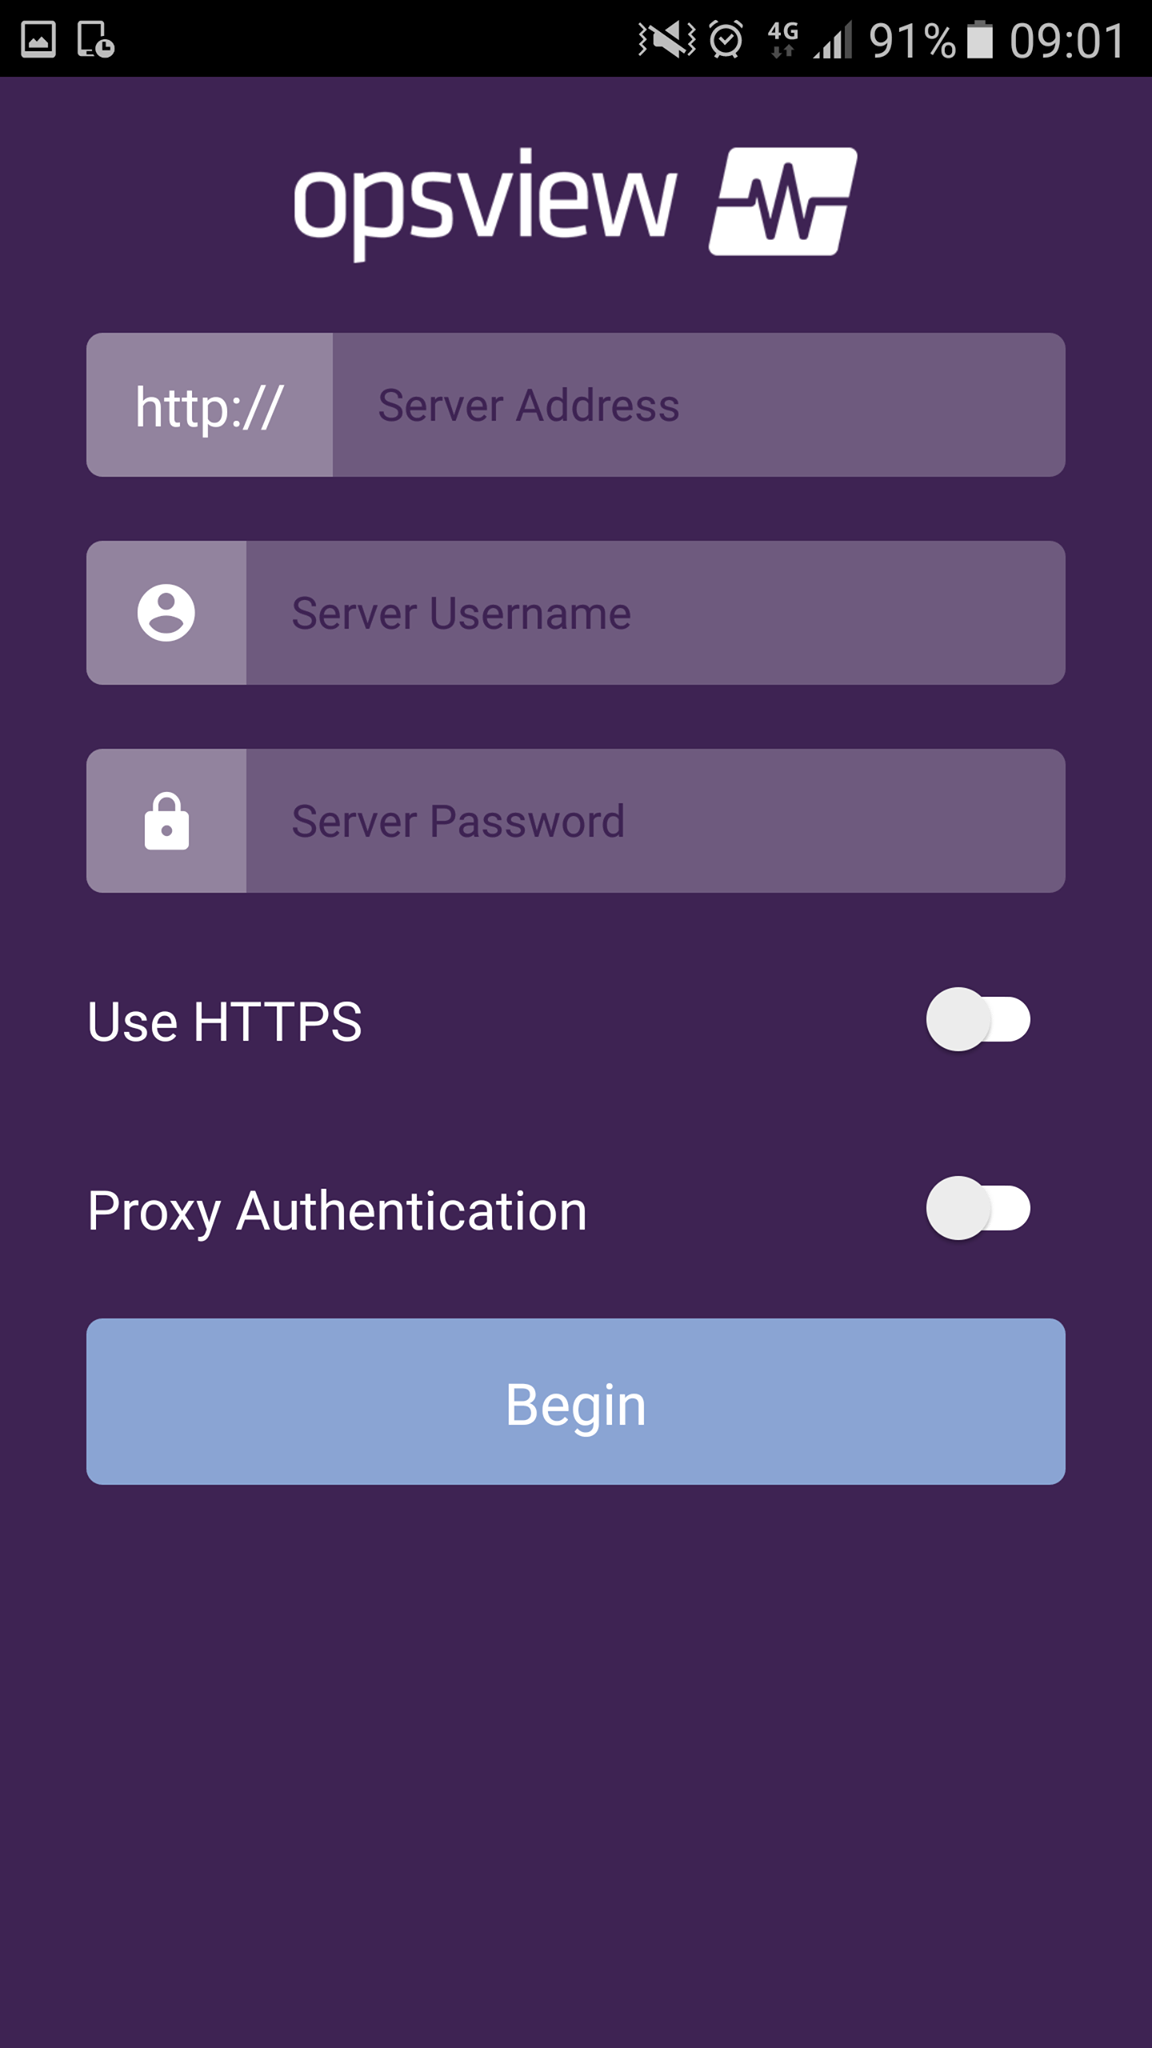
Enter your local Opsview Monitor system installation details and Login:
-
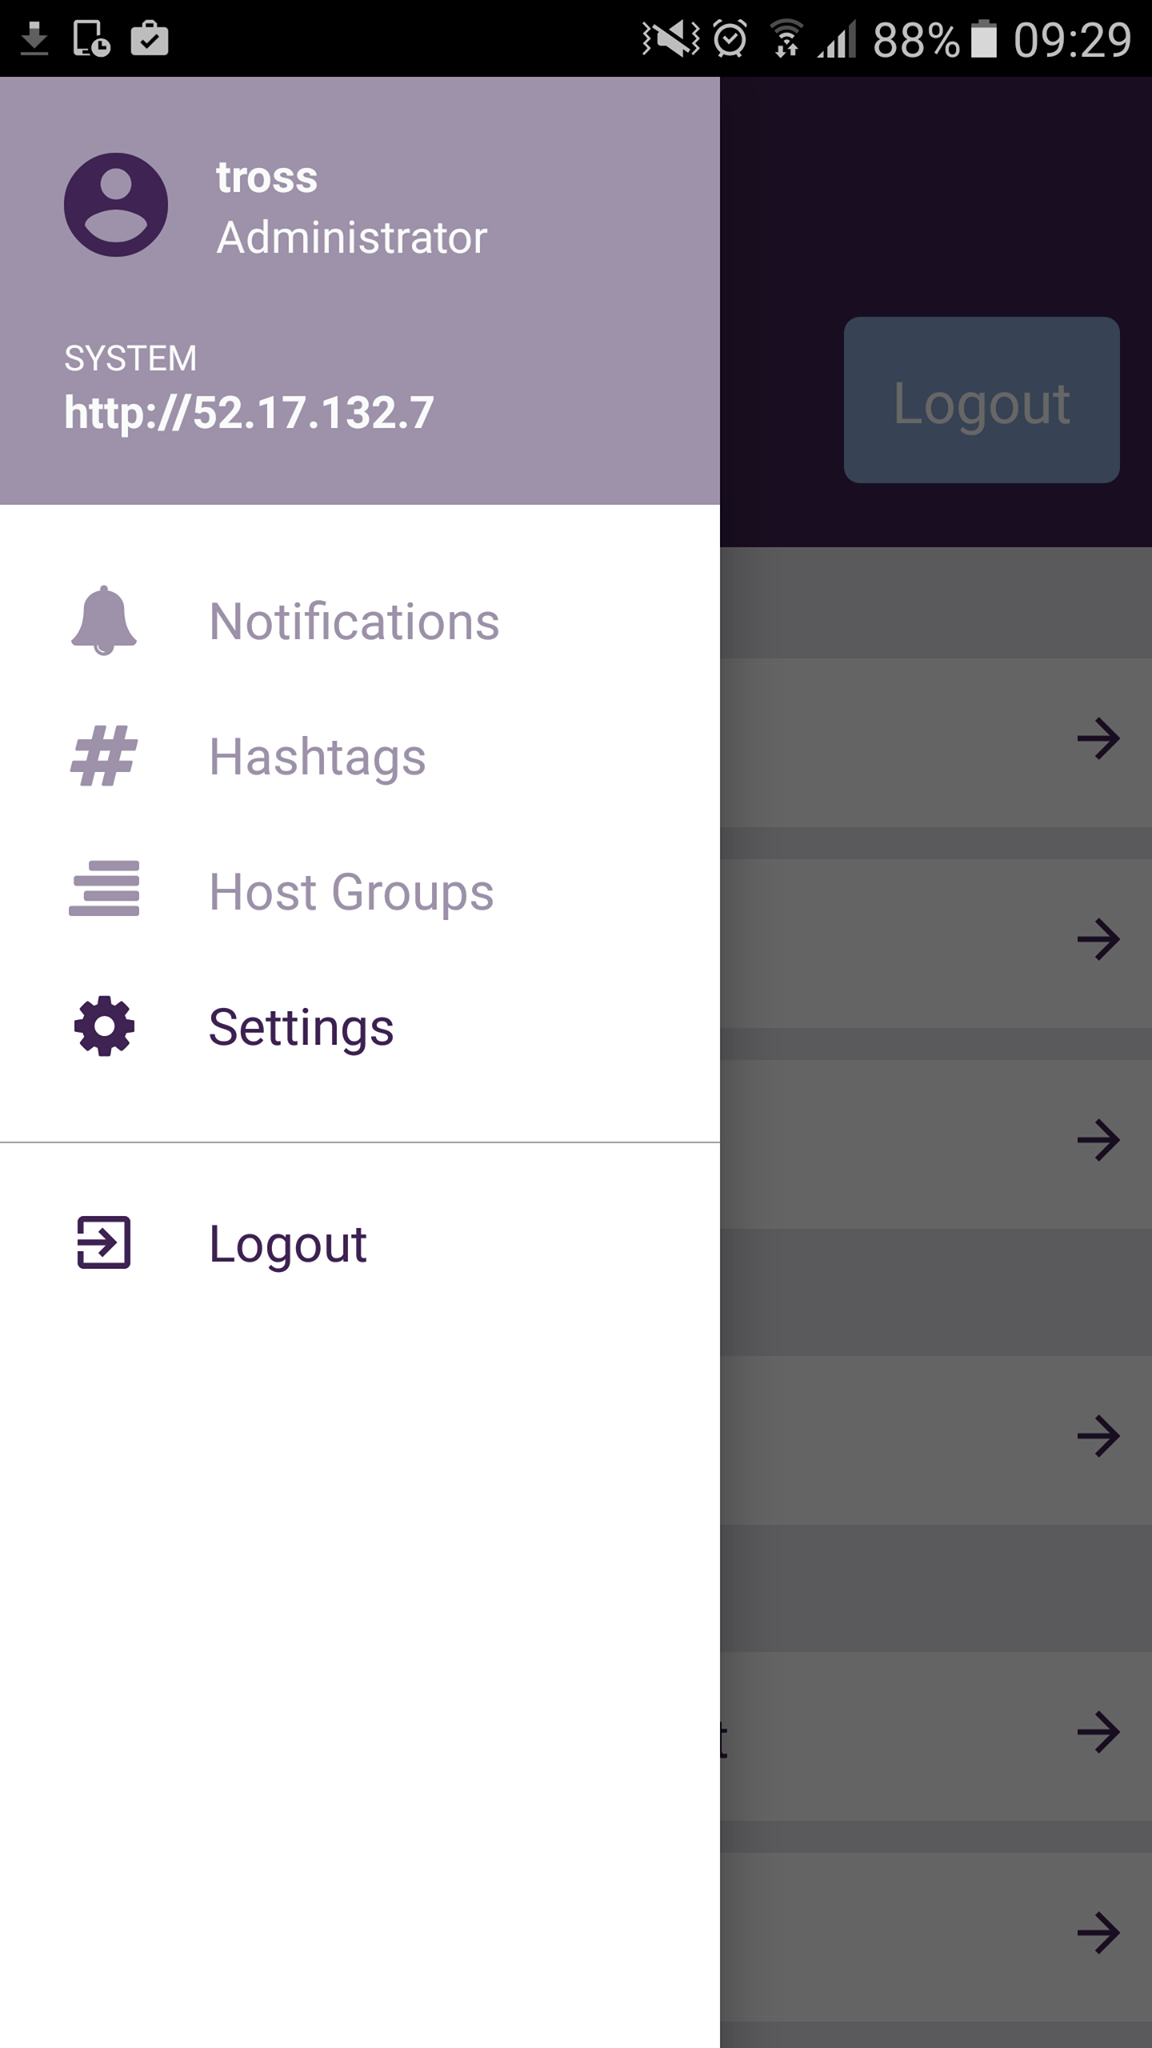
Once logged in you can access the Settings Page from the drawer on Android or within the bottom navigation bar on iOS:
-
In the settings page click on Notifications:
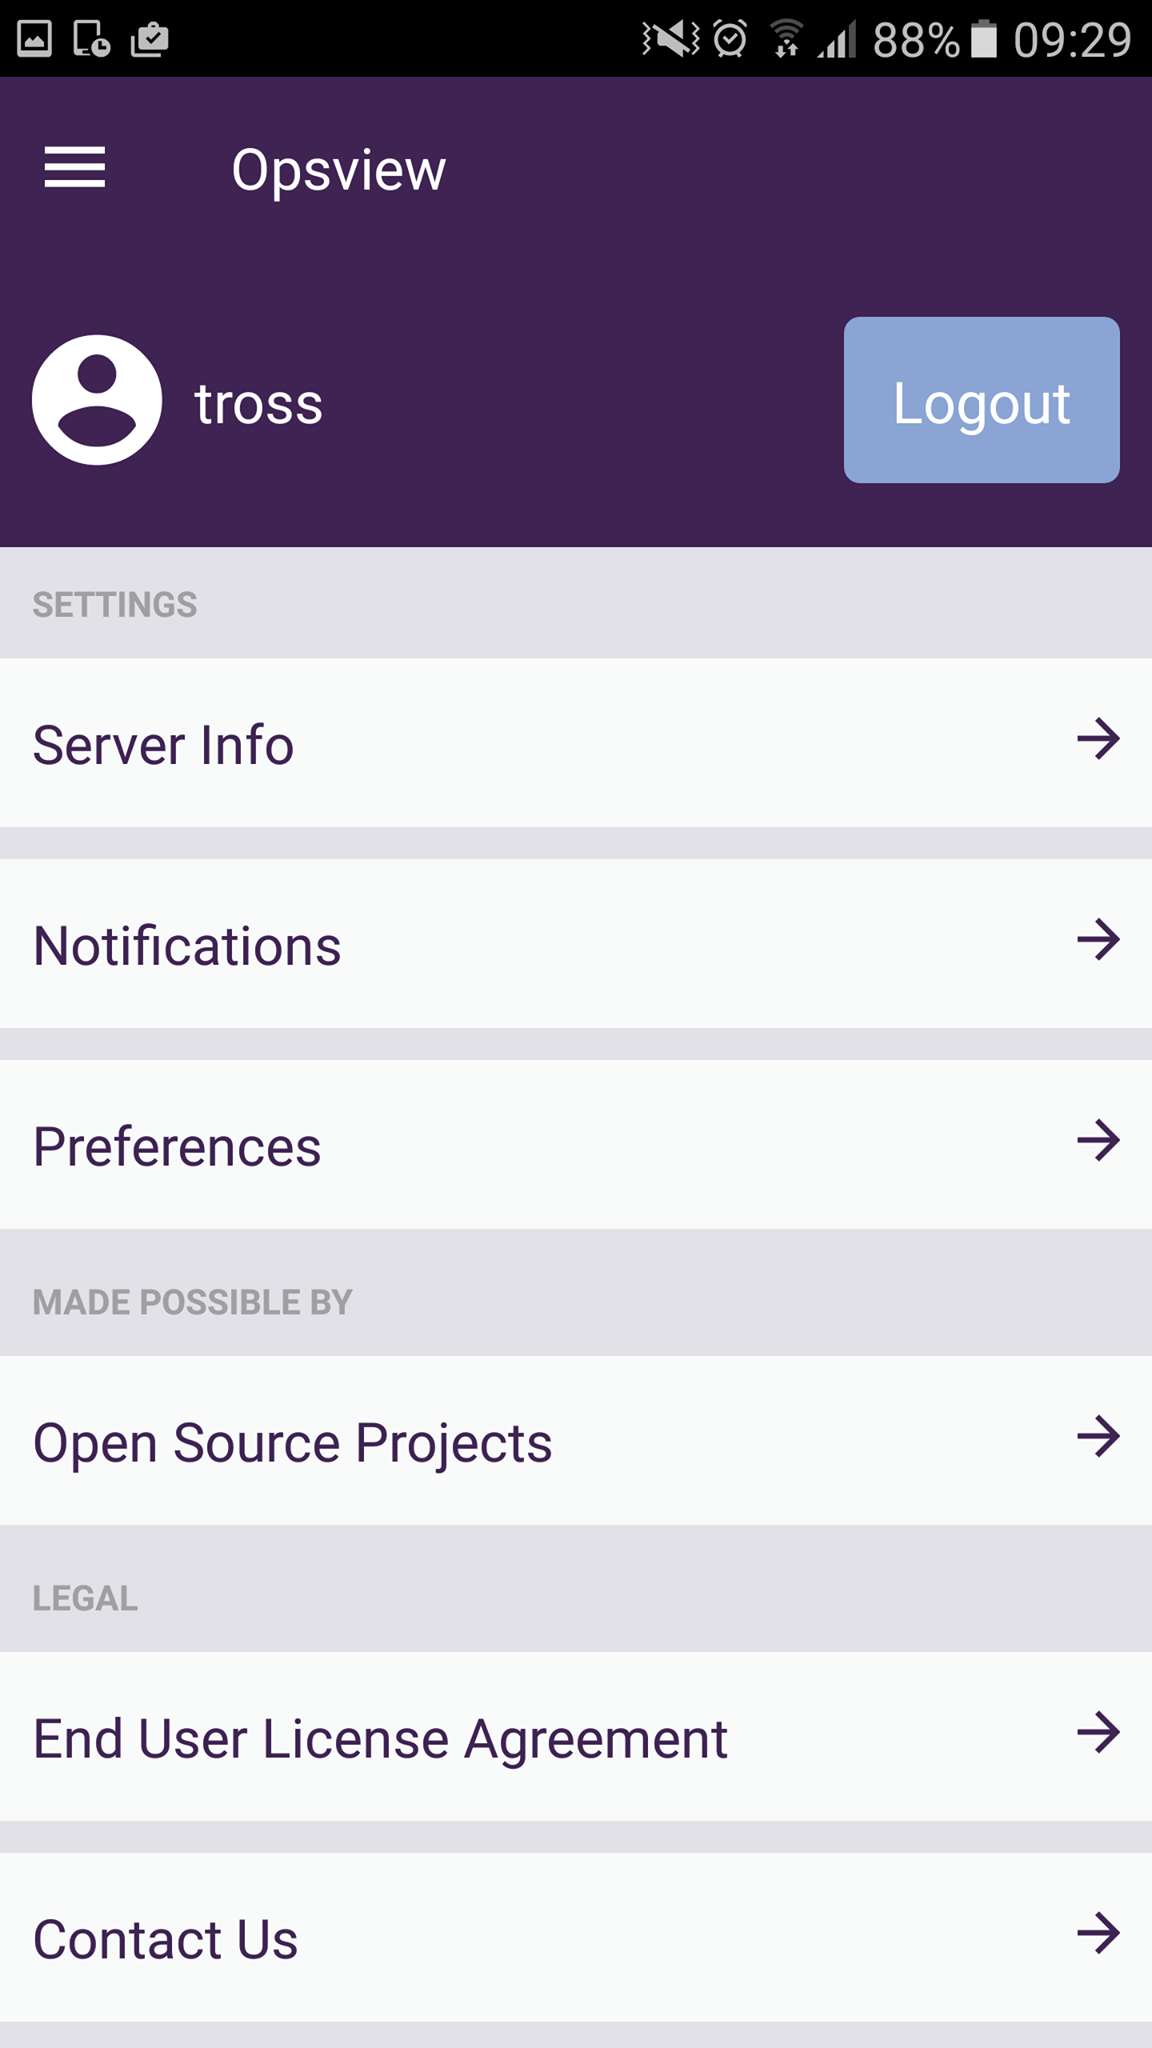
-
From here you can simply toggle on notifications. When you activate push notifications, the app requests a token from the cloud of your mobile device’s platform (which is Google or Apple). This token is a unique identifier for your mobile device so that the respective cloud service can send the push message to your device. Opsview Monitor Mobile uses the following providers for push notifications:
- Google Cloud Messaging (GCM) for Opsview Monitor Mobile Android.
- Apple Push Notification Service (APNS) for Opsview Monitor Mobile iOS.
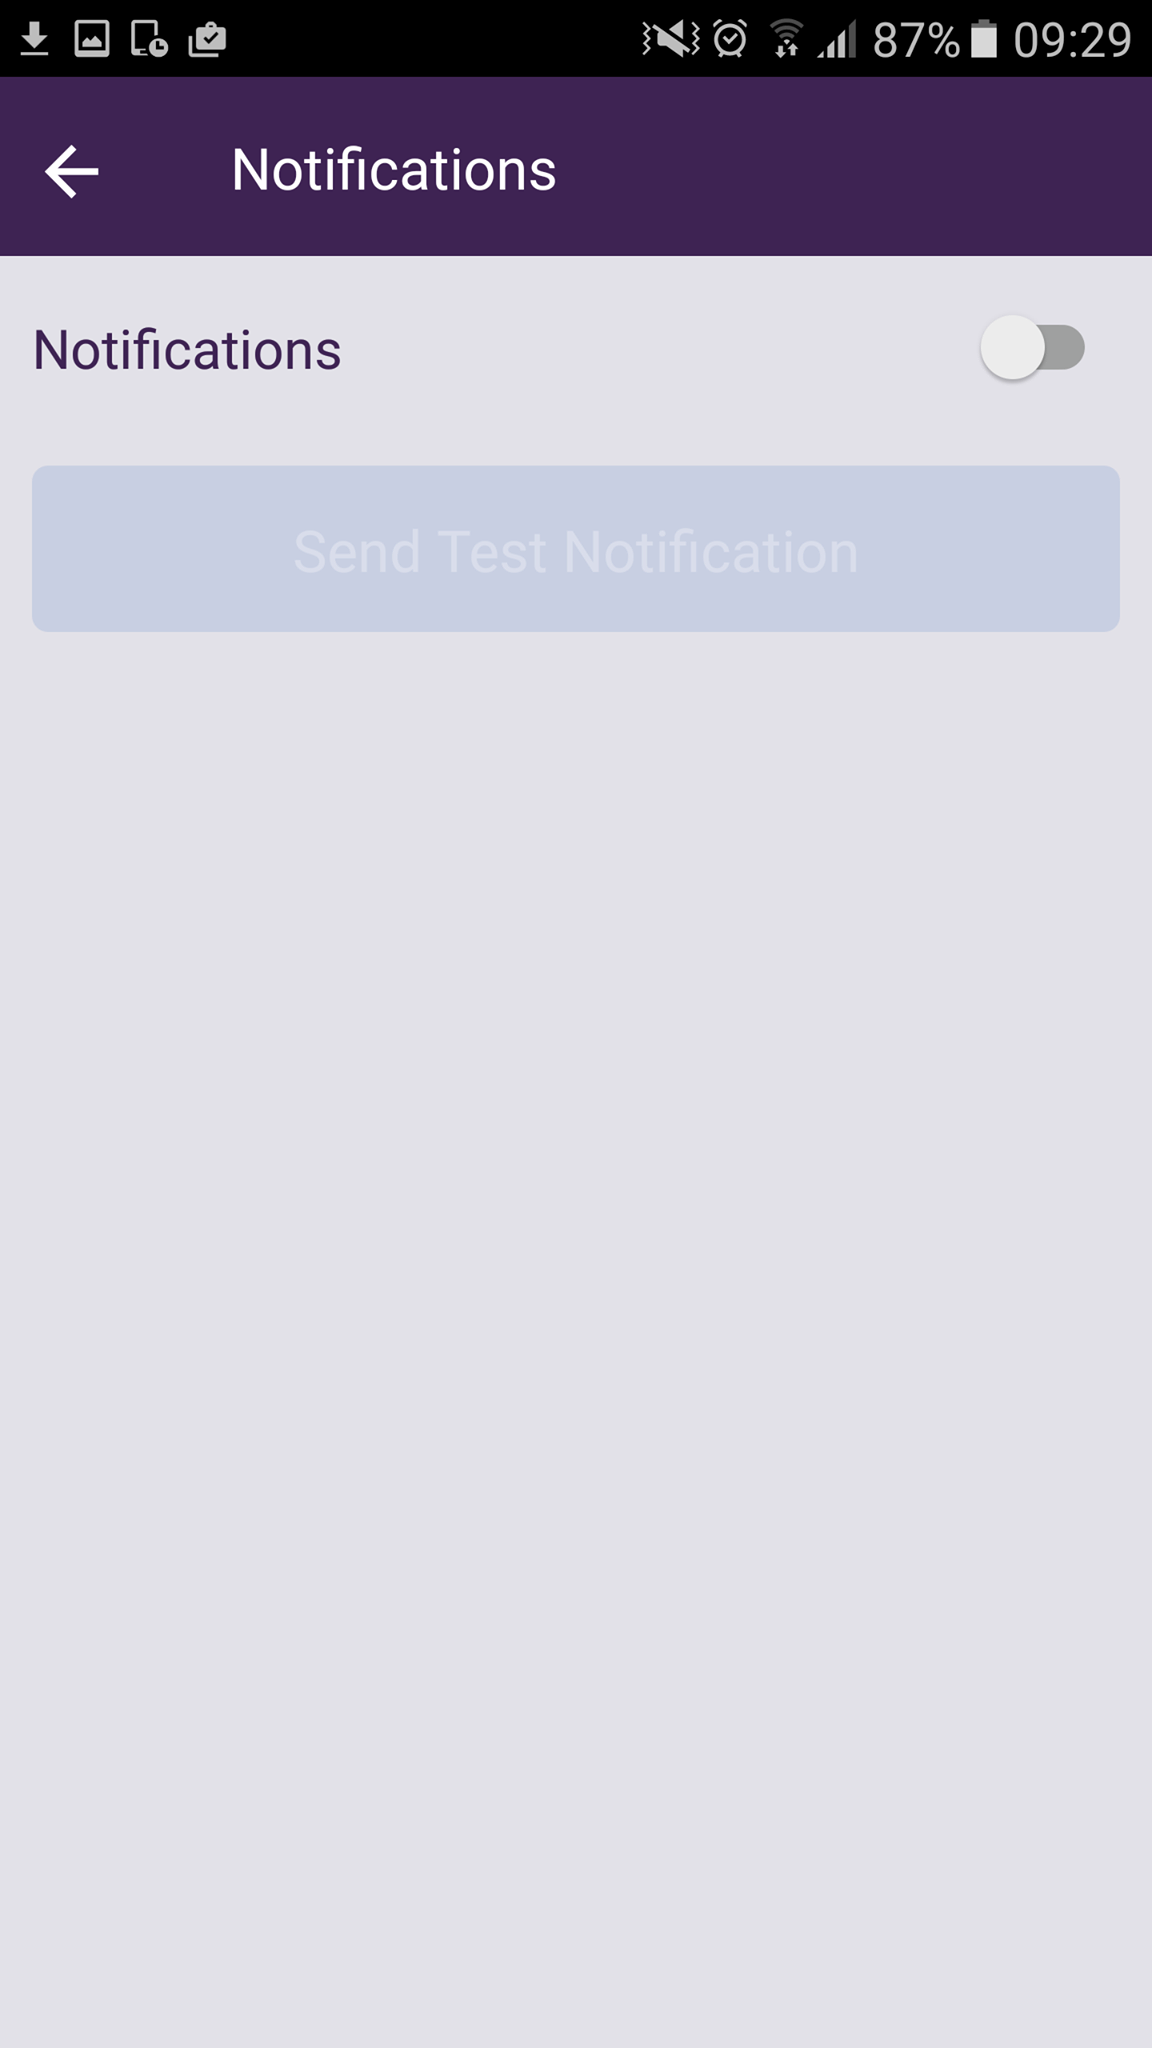
-
Once you have successfully enabled push notifications you will be able to test that push notifications can be received to your device, simply click on the ‘Test Notification’ button and you will receive a confirming push message.
Success means your Opsview Monitor Mobile device is now registered and ready to be used for push notifications.
Delivery
Once you have registered your Opsview Monitor Mobile device for push notifications, you next need to set up push notifications and notification methods on your Opsview Monitor system. Push Notifications, for example, can be set up to be received when a hard disk on your server is out of space.
In order to set this up you need to follow these steps:
- Set up a notification method for either Android or iOS in order for your Opsview Monitor server to be able to send notifications.
- Set up a Notification Profile to configure when to send an alert to your device
Note
You will need to login to the app as the same user you have added the notification for, otherwise you will not receive notifications.
You will now start receiving alerts on Opsview Monitor Mobile.
Although the delivery of push notifications involves several components and steps, a push notification will typically appear on your device within moments after being triggered by Opsview Monitor. However, because unexpected things can always happen, we would strongly advise you to always use at least two different notification methods for your critical systems.